Create an Avatar
There's a few ways to make an avatar with Character Studio:
- Select from preloaded assets
- Drag and drop your own 3D models and textures
- Generate based on a manifest.json file
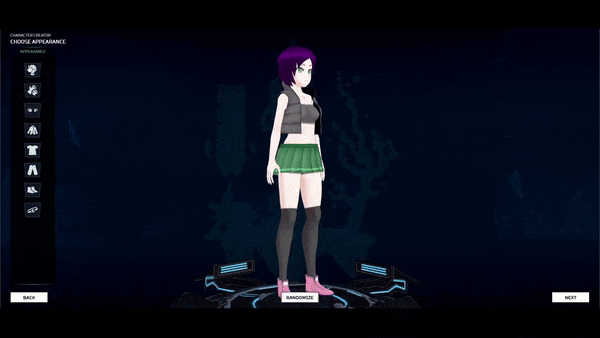
Select traits
The easy way to dress your avatar is to select from the assets that are loaded into the app to mix and match your style, similar to other character creator programs.
If you want to create your own preloaded asset configuration, check the manifest file documentation to learn more.
Drag and drop your own assets
Note: Files must be in VRM format, recommended to use version 0.0 for now
Character Studio also features the ability to overwrite textures in a similar way as well. Select the trait you want to overwrite the texture of then drag and drop the image file into the browser window to change. It would help if the image had a matching UV of the base mesh.
https://www.youtube.com/watch?v=zhpFK4Htxdo
Note: Make sure to click the category you are overwriting the trait for before drag and dropping into the browser window.
Configure programmatically
WIP
Character Studio has the ability to assemble and export VRMs by loading a JSON file containing information about the traits. This process has been custom tailored for batch assembling Anata VRMs and isn't really fully fleshed out for general purpose yet.
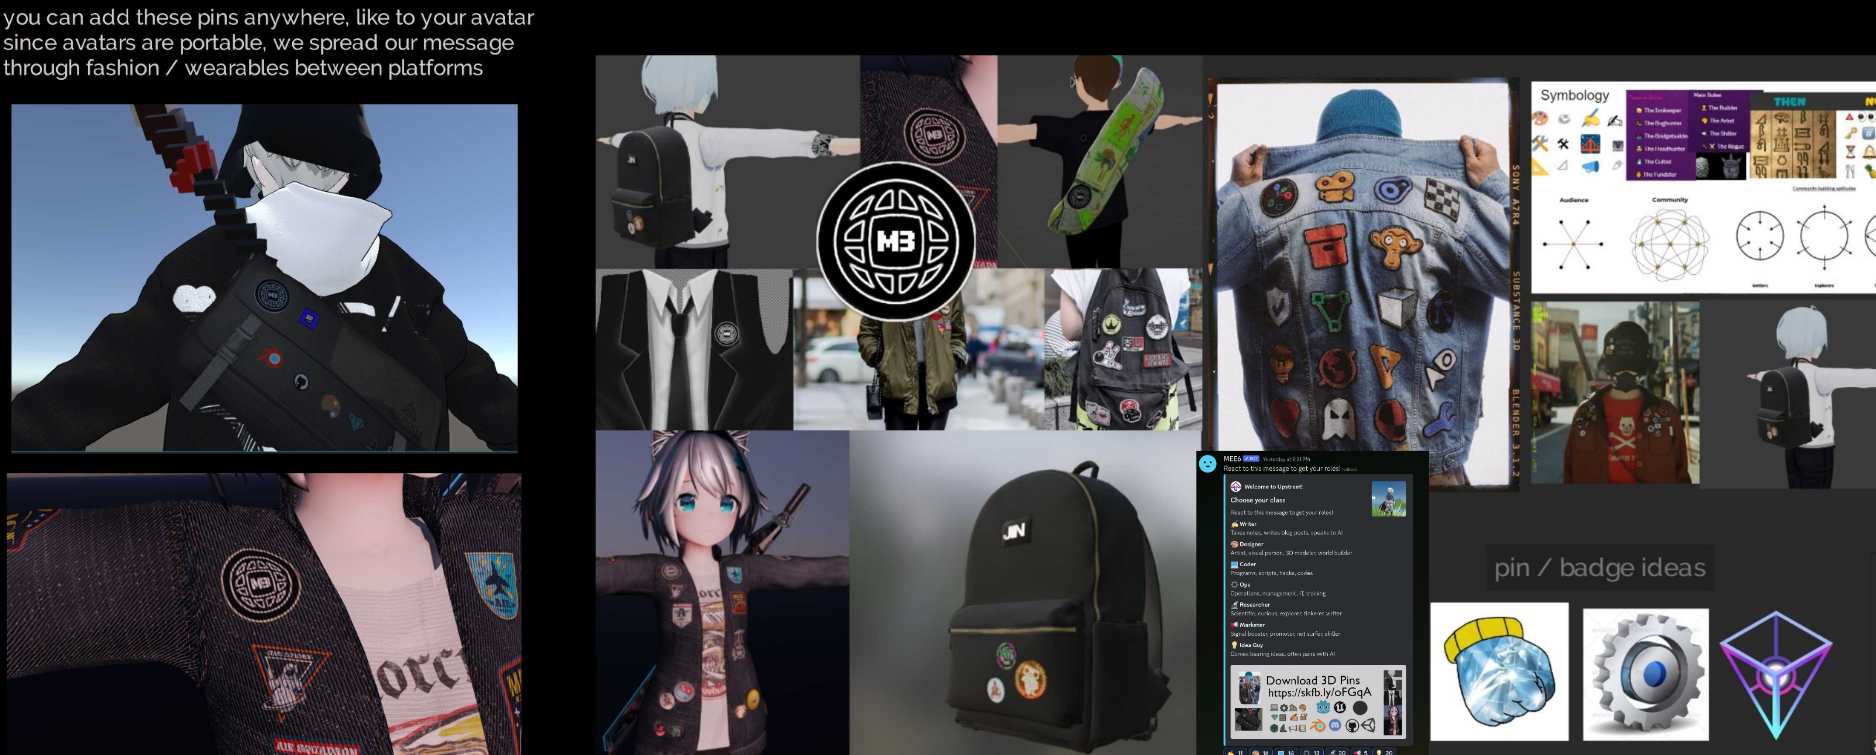
We are exploring ways to read owned assets from a connected wallet in order to configure avatars and wearables programmatically. One idea is to load POAPs and other whitelisted collections as badges / pins you can attach as wearables for your wearables.
If you want to learn more about how to configure avatars programmatically or want to create a VRM collection then I suggest to join the M3 discord and make a quick introduction. If you're a technical person you may want to look into documentation on the manifest files we're using, and should also join the discord to discuss this method of assembling avatars.